A lot of freelancers and musicians need road/flight cases to project their gear for those small jobs where they can transport their equipment in the back of their car. Sometimes they might travel with equipment on a plane. Some of you might want to build your own road cases in your spare time to save some serious money. However, you might be under the impression that you will need to buy a lot of expensive tools, hence this will make building a road case for yourself at home a prohibitive exercise. Let me tell you that might not be the case and putting together a case can be like buying flat-packed furniture from Ikea, once all the parts are cut to size. Armor Road Cases can quote and supply your case parts with materials ready to go.
In this article, we assume you need to build a small cable packer with pull out handles and corner castors so you can travel between venues with the case in your car.
Getting Started
You will first contact us with the internal dimensions of the case, preferably with a simple sketch with all dimensions and features you require marked. in this request please specify hardware size (small, medium or large) and thickness of the plywood panels you prefer (6mm, 9mm or 12mm). the material choice affects weight of case as well as how heavy duty they will be. We don’t think you need to go to 12mm plywood as they are usually required for very large cases. If you always transport the case with your own car and sometimes might need to take it onto a plane then you can choose 6mm plywood with small surface mount hardware to reduce weight. Otherwise, the 9mm plywood with medium hardware would be a good idea if weight is not a concern.
Quotation
Once we have all the information, we are able to provide a quote to supply all material cut to size and parts that you will need to get it done by yourself. This includes plywood panels, the foam lining with adhesive if required, all hardware and extrusions as well as rivets and washers.
Order
After you accept the quote and paid for the invoice. We will get the ball rolling by producing a set of drawing including a 3D visual of the case with measurements and cutting sizes of all materials. These will be first sent to you for comment and approval before we get them cut in the workshop. These documents will also work as an assembly guide to help you put the case together at home.
What You Need at Home
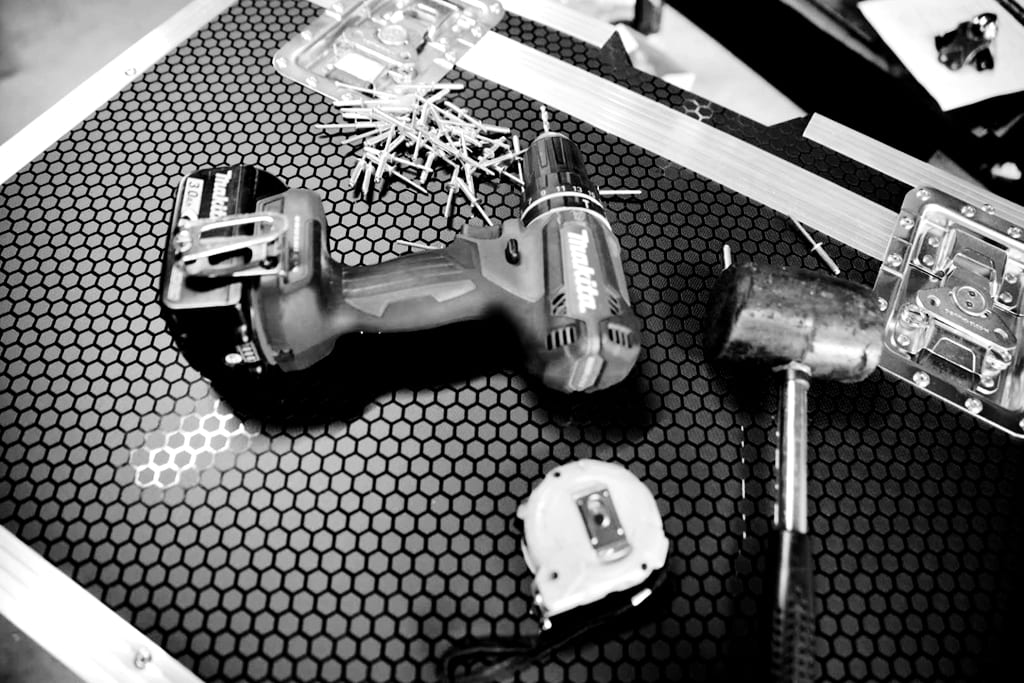
Below are the tools and items that you will need and what you need them for. They are not expensive and you might already have them at home. We have included links from Bunnings as an example:
- A small hammer
- Approx. 100 tiny nails of approx.20mm length
- A manual riveter
- A power drill with 5mm drill bit for aluminium
- A small paintbrush, if you will be putting foam/carpet lining inside the case
- A ratchet tiedown strap
These would be enough for you to get a case done at home. For those who have tools including air compressors and pneumatic rivet guns and nail guns, you will be able to work faster of course.
Building Your Own Road Case
It is finally time to get your hands dirty. The package you received from us will include the drawings mentioned above. Below are some steps to follow:
- Put the box together according to the drawing using a hammer and those tiny nails. You need to make sure the finished internal and external dimensions are the same as per drawing. Note the drawing will show internal box height including aluminium extrusions and you might as well put the tongue and groove extrusions before making the measurement. Once this is confirmed the job is half done because the remaining part of your case building would be relatively straight forward.
- Once your lid and base are finished and you have put on the tongue and groove extrusions, you can close the lid and strap the lid and base together using your strap so that the box becomes one piece. This allows you to align and install latches and hinges accurately and is quite important to ensure the box is square and closes properly once it is finished.
- You will now start to install hardware and edge extrusions using your drill. We recommend you to start with latches and hinges. Align a latch so that it splits exactly where the tongue and groove extrusion split. Drill 2 holes first and put rivets in so that it won’t be able to move before you do the rest of the holes. After the external box is done you will remove the strap and test to see if it opens and closes properly. If you have internal dividers you will be supplied with U shape extrusions to allow you to install these dividers.
- The finishing step would be to put on interior linings such as EVA foam or carpet. You can put adhesive onto the internal walls using a small brush then align each piece of these foam or carpet carefully to the area as it will be difficult to pull it off once they got in contact with each other. We suggest you align the top edge to the edge of extrusion then working downwards.
Now you have finished building your own road case at home and you should make yourself a coffee and share your work with your friends on Facebook.
Contact us today to get your project started and save hundreds.
